Create Rackspace Webmail, a necessity for efficient communication in the ever-evolving realm of online businesses. Today, we’ll delve into the strategic integration of Rackspace Webmail with Cloudways, going beyond a mere email setup to enhance your overall productivity. This detailed guide, incorporating essential Rackspace email webmail login details, will walk you through each intricate step — from acquiring a domain to configuring DNS settings — ensuring a flawless setup on Cloudways. Elevate your communication game and streamline your online business with confidence. Let’s dive into this step-by-step tutorial and create Rackspace Webmail for a seamless and efficient communication strategy.
In the dynamic online business scene, effective communication is vital for forging connections. Rackspace Webmail, integrated with Cloudways, offers seamless and secure email solutions. Whether you’re a startup, established brand, or affiliate marketer, mastering the creation and optimization of Rackspace Webmail on Cloudways is a game-changer.
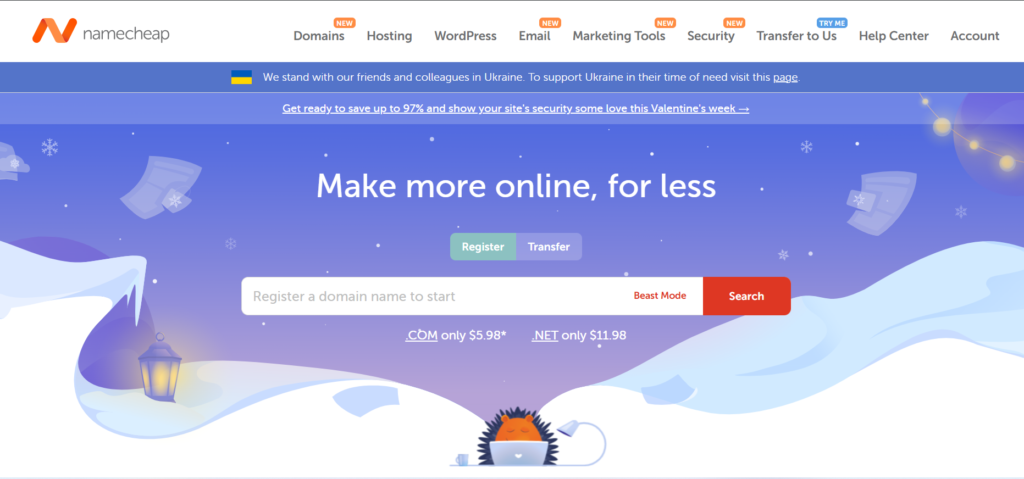
This friendly guide walks you through key steps, starting with securing a domain from trusted registrars like GoDaddy or Namecheap. Choose a domain that mirrors your brand and resonates with your audience. The journey continues with a dive into DNS configuration, ensuring a flawless setup for your Rackspace Webmail on Cloudways.
Acquiring a Domain
Embark on your journey by creating Rackspace Webmail, starting with the crucial step of securing a domain. Trusted domain registrar Namecheap is an excellent choice for this process. Choose a domain that mirrors your brand and resonates with your audience, setting the foundation for a successful Rackspace Webmail creation.
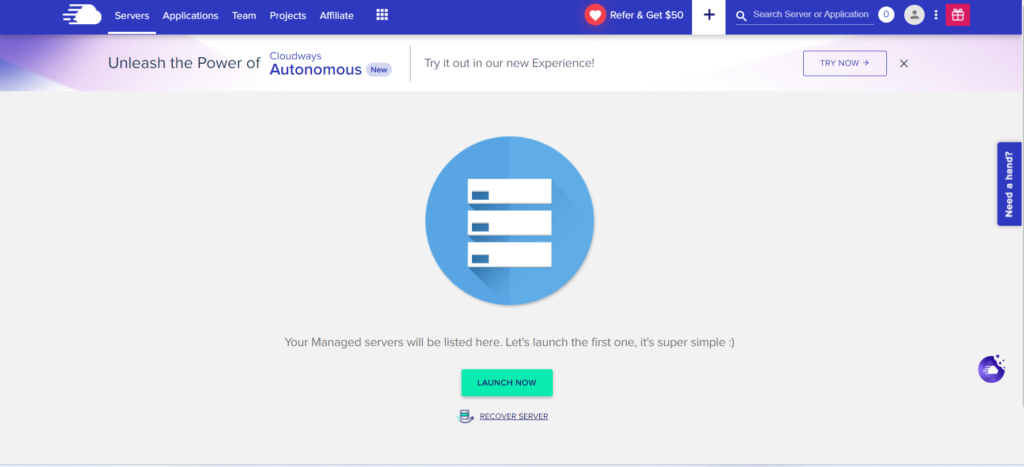
Accessing Cloudways Dashboard
To kickstart the process of creating Rackspace Webmail, you’ll need to access the Cloudways Dashboard. If you don’t have a Cloudways account, sign up or Log in to start managing your hosting environment efficiently and proceed with the setup.
Creating a PHP Application
Once you’re in the Cloudways Dashboard, proceed to create a PHP application – a key step in setting up Rackspace Webmail. Choose the appropriate PHP version to align with the requirements for a seamless integration.
Filling in Application Details
Provide vital information for your application, including the name and project details. Assign the application to the relevant server within Cloudways, and with a click on “Add Application,” you set the foundation for your Rackspace Webmail setup.
Fill Application Details to Create Rackspace Webmail
Select PHP application type and provide essential details to customize for Rackspace Webmail creation. Assign to Cloudways server for seamless integration, enhancing communication strategy and productivity.
Configure DNS Settings on Cloudways
Update DNS Records on Domain Registrar
Install Rackspace Webmail
Now that your infrastructure is in place, access the server housing your application and initiate the installation of Rackspace Webmail. Navigate through the installation prompts, entering your Rackspace email webmail login credentials when prompted.
Test Email Configuration
With the installation complete, perform a comprehensive test. Ensure the integrity of your Rackspace Webmail setup by sending and receiving emails. Verify that the Rackspace login webmail login details seamlessly connect you to your email hub.
Secure Your Setup
Prioritize the security of your setup by enabling SSL for your domain on Cloudways. This critical step establishes a secure communication channel between your website and Rackspace Webmail, safeguarding your sensitive information.
Conclusion:
Congratulations on successfully navigating the intricate process of configuring Rackspace Webmail on Cloudways. From acquiring a domain to DNS configuration and securing your setup, this detailed guide ensures a robust email system for your online business. Elevate your communication strategy, streamline your operations, and boost productivity with the winning combination of Rackspace Webmail and Cloudways, always utilizing your Rackspace email webmail login details with confidence.